
SETTING UP YOUR POSTER FILE:
Create a PowerPoint Presentation Poster by creating a custom size in Page Setup.
- Open Microsoft PowerPoint.
Choose File>>View - Select New Blank Presentation
Go to File>>New Blank Presentation - Select: Design
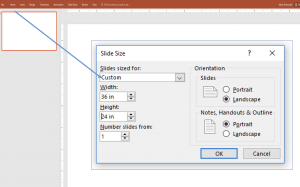
In the Slide size for option, choose Custom Slide Size.
Set the height, width, and orientation (landscape or portrait). Click OK.
Know your requirements: Is there a specific size required? Do you know the poster size of your poster board?
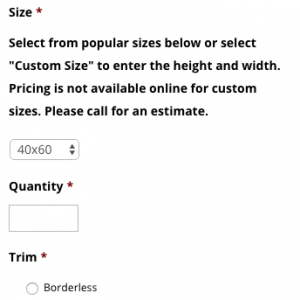
 Note: PowerPoint limits page setup size to 56” x 56”. .” If you want a poster larger than what PowerPoint allows, for example 48”x 96”, set your poster dimensions at half size (24”x48”) and we will scale up to 200% for final printing.
4. Save your file:
Choose File>>Save to save your presentation.
Make sure you save the file in the same version of PowerPoint you used to create the file. DO NOT save in an earlier version.
WORKING WITH TEXT ELEMENTS:
5. Add text
Select Insert >>Text Box.
Drag to “draw” the text box where you want to place text. Begin typing and text will appear in the text box. The text box will expand as you type. You can also copy and paste text from an MSWord doc.

“Text Box” is always used since text requires a container in PowerPoint.
You need to create a separate Text Box for each separate piece of text that you want to manage/move independently.
100-point font is about an inch high. If you don’t see the size you want from the drop-down menu, type in the correct size. If your poster file will be scaled up when printed, the text will be too. Example: 50 point text will become 100 point if scaling to 200%.
• You can resize the text box/container at any time by moving your cursor over the corner or center handles
(cursor changes to double headed arrow) and dragging.• You can move the entire box by moving your cursor over an edge until it turns into a four-way arrow.
• Use the green dot to rotate the box
8. Inserting Images
Select Insert>>Picture>> From File from the menu bar You can import most standard graphic formats such as: (jpeg, gif, tiff, bmp, etc.).
Avoid “copy and paste” as a method for adding graphics—this often results in a low-resolution copy of the image. The best way is to insert the image.
WORKING WITH IMAGES:
Plan ahead. When creating a graphic in your imaging software program, set the image resolution to 150 dpi. This will give you the best quality image.
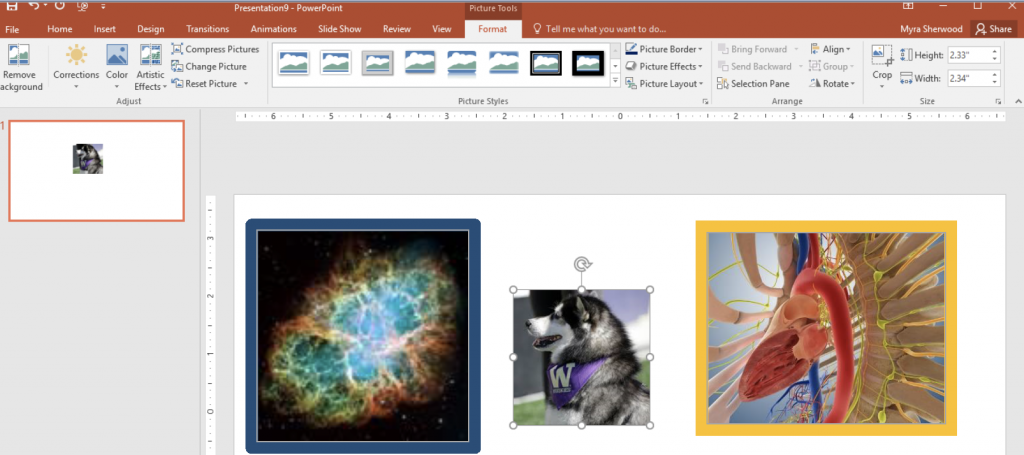
9. Manipulating images:
Once your image appears in your poster, you can adjust the size by moving the handles. The corner handles keep the same aspect ratio; the side handles do not.
Select a picture, then go to Format Picture on the menu bar. You can crop, adjust brightness, etc.
CREATING A BACKGROUND FOR THE POSTER:
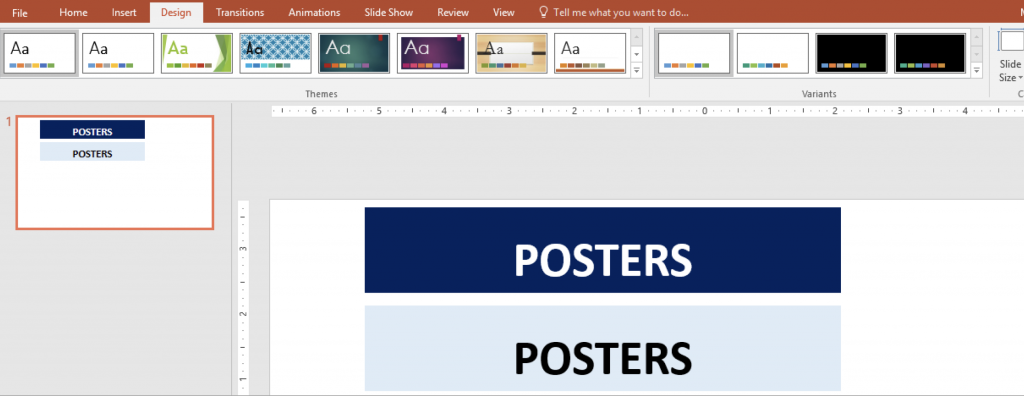
10. Make a solid color background:
Select Design >>Background Styles. Click on the Background option within the drop down menu to choose from even more color choices. The best backgrounds are ones that provide the maximum contrast to the text placed on it.
dark background = white text
white background = black text
Image backgrounds can affect the readability of your text.
CREATING BOXES, LINES, ARROWS:
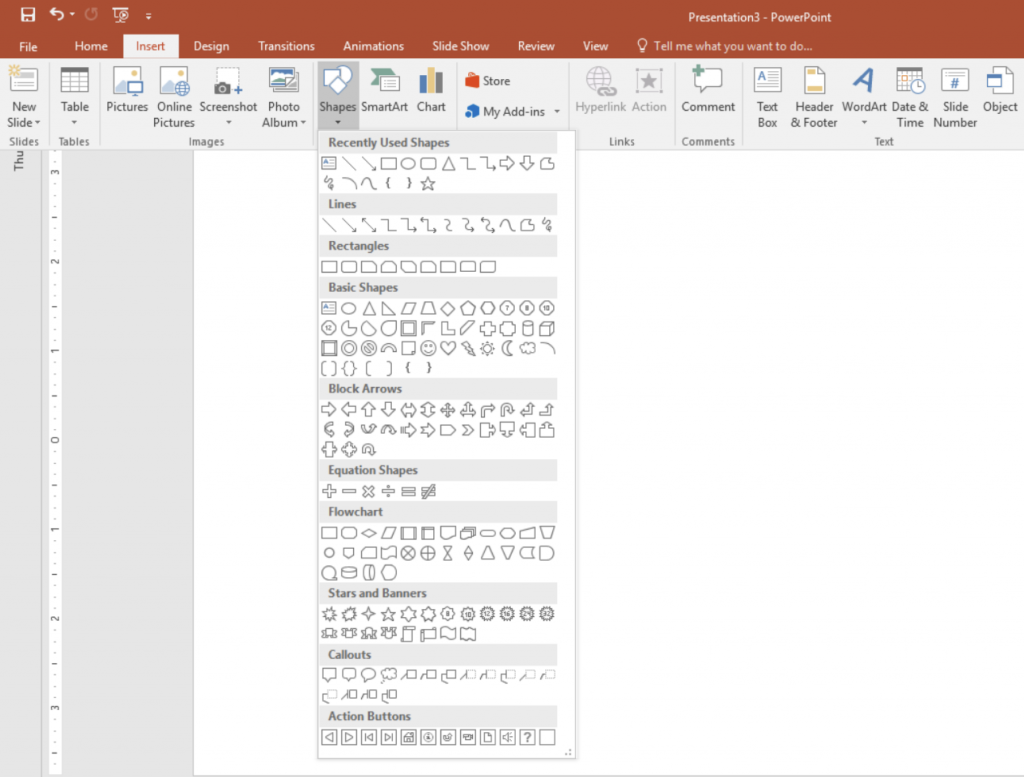
11. Adding lines, arrows, boxes, etc.
Select Insert>>Shapes and choose the graphic element you would like to insert.
Click and drag the arrow to place the element, double click to edit in the Format tab.
Posters Location
 Magnuson Health Sciences Building, T-Wing (T-271)
1705 NE Pacific St
(West of UW Medical Center)
Magnuson Health Sciences Building, T-Wing (T-271)
1705 NE Pacific St
(West of UW Medical Center)